
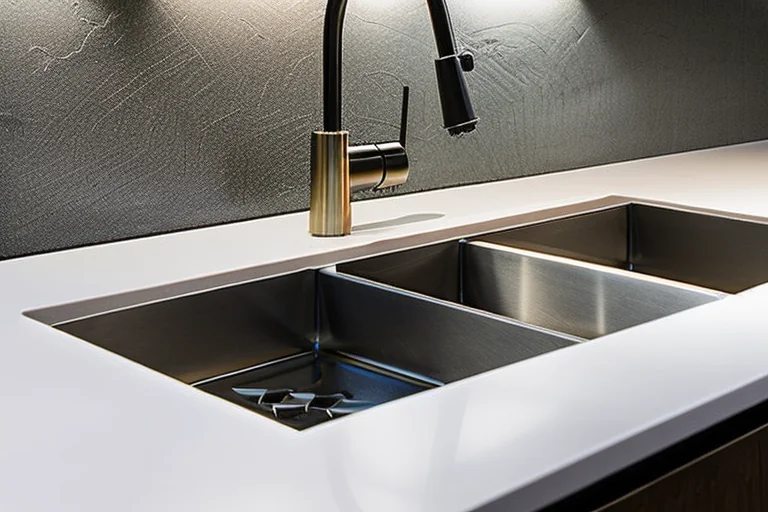
Installing a quartz worktop is a transformative step in any kitchen renovation, combining durability with stunning aesthetics. Unlike other materials, quartz offers unparalleled resistance to stains, scratches, and heat, making it a favourite among homeowners and designers alike.Striking designs like Evening Blossom showcase how quartz can deliver both visual impact and long‑lasting performance. However, the installation process requires precision and expertise to ensure a flawless finish. Whether you’re considering a DIY approach or hiring professionals, understanding the steps involved will help you achieve the perfect result.
Pre-Installation Preparation
Before the installation begins, thorough preparation is essential. Start by confirming your kitchen layout and ensuring all base units are level and securely fixed. Any discrepancies in the cabinet heights can lead to an uneven worktop surface. Remove old worktops and appliances, leaving a clear workspace. It’s also crucial to have your quartz slabs delivered at least 48 hours before installation to allow them to acclimatise to room temperature, preventing potential expansion or contraction issues.
Taking Accurate Measurements
Precision is key when measuring for quartz worktops. Professional installers typically create a cardboard or digital template of your kitchen layout, accounting for appliances, sinks, and hob cut-outs. Even a minor error can result in costly adjustments later. If you’re measuring yourself, double-check all dimensions and consider consulting an expert to verify your calculations.

The Installation Process
Once the preparation is complete, the actual installation can begin. The quartz slabs are carefully positioned on the base units, ensuring they align perfectly with the walls and adjacent surfaces. Seams between slabs are joined using colour-matched adhesive, creating an almost invisible bond. Specialised clamps hold the pieces together while the adhesive sets, typically taking 24 hours to fully cure.
Cutting and Finishing Touches
Any necessary cuts for sinks, hobs, or taps are made using diamond-tipped blades to prevent chipping. The edges are then polished to your preferred profile, whether it’s a simple straight edge or an ornate ogee. Finally, silicone sealant is applied around the edges to create a watertight seal against walls and splashbacks.
Post-Installation Care
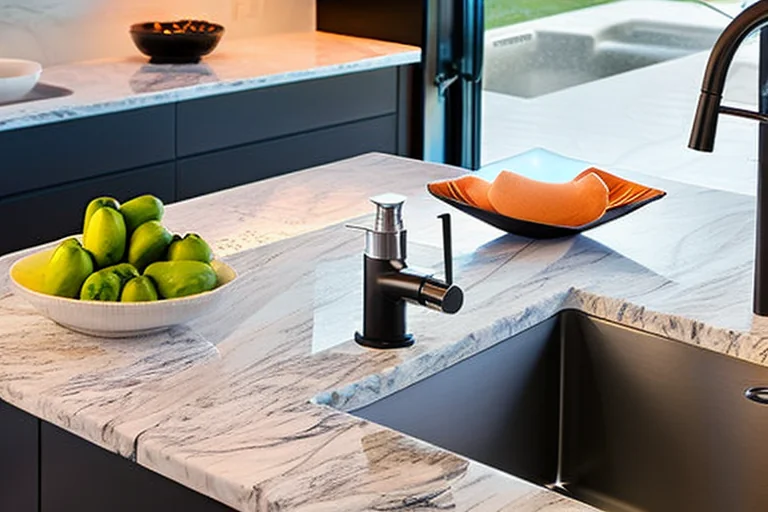
After installation, avoid placing heavy objects on the seams for at least 48 hours. While quartz is low-maintenance, regular cleaning with mild soap and water will preserve its lustre. Avoid abrasive cleaners or scouring pads, as these can dull the surface over time. With proper care, your quartz worktop will remain a stunning focal point for years to come.
Ready to transform your kitchen with a premium quartz worktop? Browse Our Quartz Worktop Solutions to explore our range of colours and finishes, or Contact Our Kitchen Design Experts for personalised advice on your project.


 English (UK)
  العربية
  Español de México
  Português
  한국어
한국어  Français
  日本語
日本語  Bahasa Indonesia
  Italiano
  Türkçe
  Deutsch
  Русский
  简体中文
简体中文