

When you envision your dream kitchen with a sprawling island, the last thing you want is a visible seam cutting across that beautiful, uninterrupted surface. A large kitchen island is the heart of the home, a place for cooking, gathering, and creating memories. The desire for a seamless quartz worktop on such a centrepiece is completely understandable. However, the reality of manufacturing and installation means that joints, often called seams, are a necessary consideration for most islands beyond a certain size. The good news is that with expert planning, the right material choice, and skilled fabrication, these joints can be rendered virtually invisible, preserving the elegant, monolithic look you crave. This guide will walk you through everything you need to know about achieving seamless solutions for your large kitchen island.
Understanding the Need for Joints in Quartz Worktops
Quartz worktops are engineered from natural quartz crystals and resins, pressed into large, durable slabs. While these slabs are impressively large, they are not infinite. Standard slab sizes typically range from 1200mm to 1500mm in width and 2400mm to 3200mm in length. When your kitchen island design exceeds these dimensions in either direction, a joint becomes a practical necessity. Attempting to source a single, custom-sized slab large enough for an oversized island is often prohibitively expensive and logistically challenging, if not impossible. Furthermore, the weight and fragility of quartz slabs make them incredibly difficult and risky to transport and manoeuvre in sizes much larger than the standard. Therefore, the joint is not a design flaw, but a clever engineering solution that allows for the creation of expansive, stunning surfaces while managing practical constraints.
Strategic Seam Placement: The Key to Invisibility
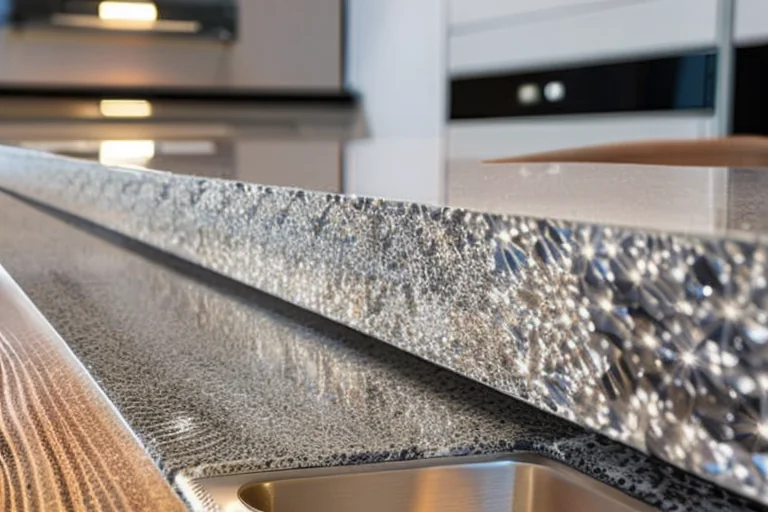
The most critical factor in achieving a seamless look is not avoiding the seam altogether, but placing it with strategic intent. A skilled kitchen designer or fabricator will treat seam placement as an integral part of the design process. The goal is to align the joint with natural breaks or features in the kitchen to minimise its visual impact. Common strategies include positioning the seam along the line where a sink or hob will be installed, as these fixtures naturally draw the eye and can help mask the join. Another effective technique is to place the seam perpendicular to the main sightline, so when you enter the kitchen, you see a long, unbroken stretch of quartz rather than a line running across it. For L-shaped or waterfall islands, the seam can often be cleverly hidden at the corner turn or along the vertical edge of the waterfall detail.
Choosing the Right Quartz Pattern for Seam Disguise
Your choice of quartz colour and pattern plays a monumental role in how noticeable a seam will be. Solid, uniform colours like pure white or jet black can be the most challenging, as any slight misalignment in colour or texture at the joint will be starkly visible. For large islands where a seam is anticipated, quartz with movement, veining, or a subtle, busy pattern is often the superior choice. These patterns help to naturally camouflage the seam line, as the eye is drawn to the design rather than the join. A material like Morning Glow Quartz Stone, with its soft, cloud-like marbling, is an excellent example of a forgiving pattern that can make expert seam work disappear into the overall aesthetic. The key is to discuss your island’s dimensions with your supplier early on, so they can recommend slabs from the same production batch for perfect colour consistency across the join.
The Art and Science of Expert Fabrication
This is where craftsmanship makes all the difference. Creating a near-invisible seam is a multi-step process that demands precision and experience. First, the two slab sections are cut with perfectly straight, polished edges using computer-controlled machinery. The slabs are then dry-fitted in the workshop or on-site to ensure a flawless match. During installation, a specialised colour-matched epoxy adhesive is applied. This adhesive is often mixed with a tiny amount of the quartz dust collected from cutting the same slab, ensuring a perfect colour match that cures to a hardness similar to the quartz itself. The slabs are then clamped together with immense pressure, squeezing out excess adhesive and creating a bond that is often stronger than the surrounding material. After curing, any residual adhesive is meticulously scraped and polished away, leaving a surface that is smooth to the touch. The final polishing stage blends the seam into the surrounding area, making it detectable only by a faint line or a slight change in the pattern flow.
Collaborating with Your Fabricator for the Best Result
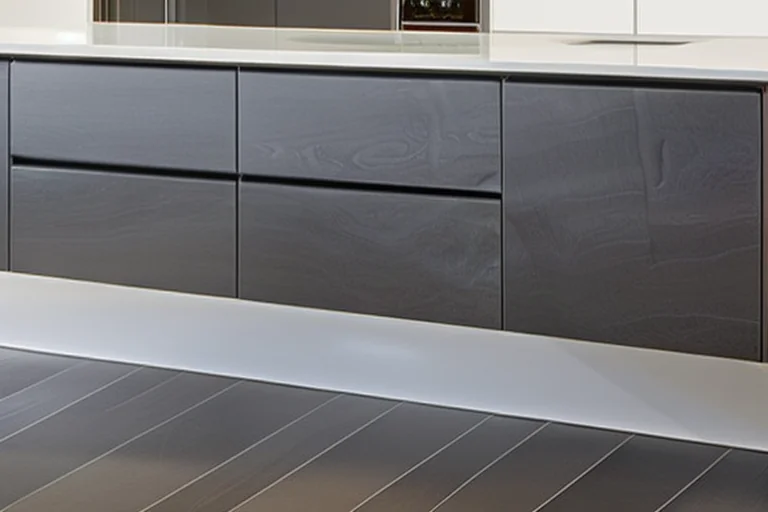
Your relationship with your chosen fabricator is paramount. From the initial template to the final polish, clear communication is essential. A reputable fabricator will provide a detailed drawing showing the proposed slab layout and seam location for your approval before any cutting begins. Don’t hesitate to ask questions: Why is the seam placed there? Can we explore alternative layouts? Can I see examples of your previous seam work? A true professional will welcome this dialogue, as it ensures you are both working towards the same vision. They should also be transparent about the limitations and manage your expectations, explaining that while the goal is invisibility, a perfectly matched seam in certain lights and angles might still be faintly perceptible upon very close inspection.
Maintaining Your Seamed Quartz Worktop
One of the great advantages of a professionally installed quartz seam is that it requires no special maintenance compared to the rest of the worktop. The epoxy bond is highly resistant to heat, moisture, and staining. You can clean it with mild soap and water as usual. It’s important to avoid placing excessive weight or impact directly on the seam line, but this advice holds true for any part of a quartz surface. Over many years, if you notice any slight discolouration (which is rare with quality materials and installation), it can often be addressed by a professional with a re-polishing service. The durability of a well-made joint is a testament to the skill that went into its creation.
Ultimately, a large, seamless-looking quartz island is an achievable dream. It requires an understanding of material constraints, a strategic design approach, and, most importantly, partnership with a skilled and experienced fabricator. By focusing on smart seam placement, selecting a forgiving quartz pattern, and trusting in expert craftsmanship, you can enjoy a breathtaking kitchen centrepiece that flows without interruption, just as you imagined. Ready to begin planning your perfect kitchen island? Explore our full range of premium materials and Fabrication Services to see how we can bring your seamless vision to life.


 English (UK)
  العربية
  Español de México
  Português
  한국어
한국어  Français
  日本語
日本語  Bahasa Indonesia
  Italiano
  Türkçe
  Deutsch
  Русский
  简体中文
简体中文